

HOW TO CREATE A .PFX FILE AND EXTRACT PRIVATE KEY AND CERTIFICATE
When installing Certificate on application you will need the certificate in the form of certificate file and private key file separately, here is the stage to do so after you have installed certificate on windows certificate manager and you did so with the private key.
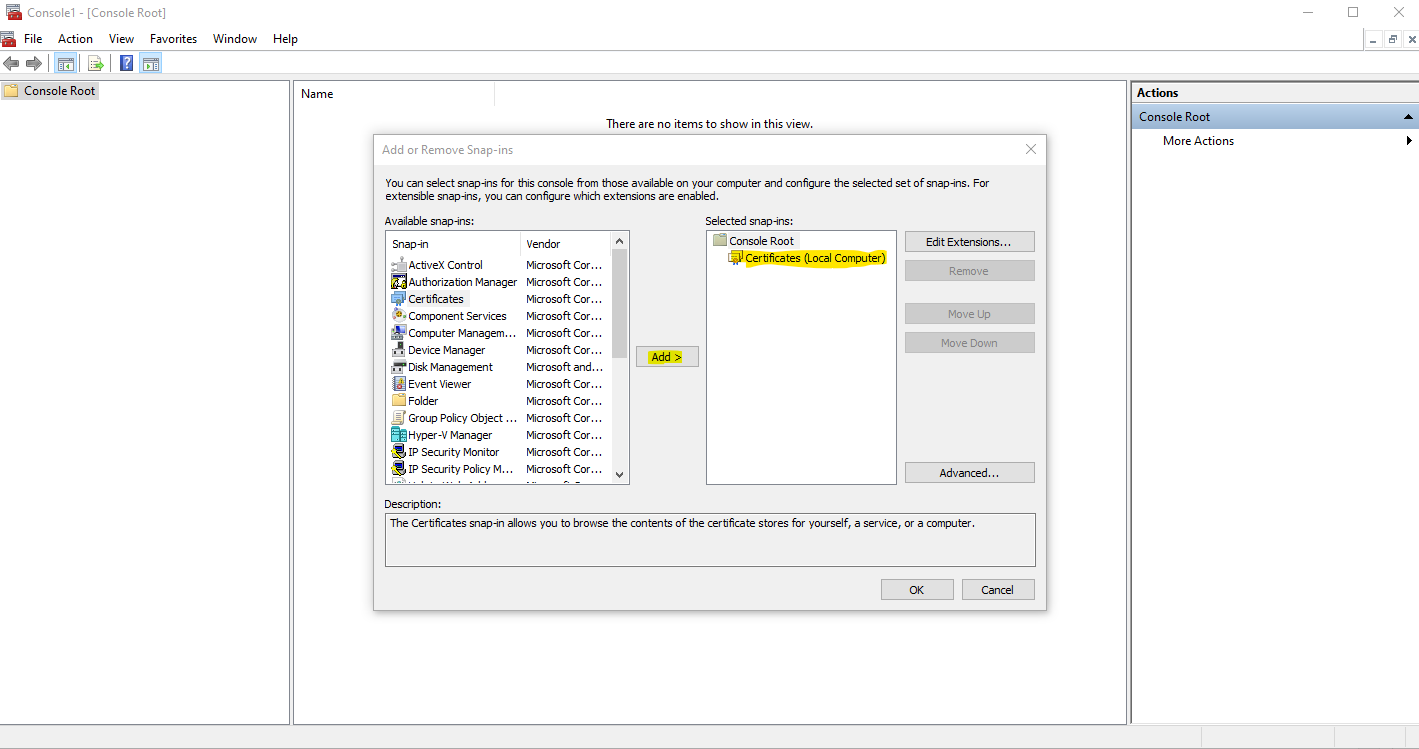
First open MMC and -> File-> Add/Remove Snap-in… > Certificates > Computer account > Next > Local computer > Finish > OK).
Next Choose your certificate and make sure it have The Private key sign on it : ![]()
Right Click on the certificate ->All Tasks-> export -> make sure you choose to export with the private key -> Check the box for “Include all certificates in the certification if possible” :
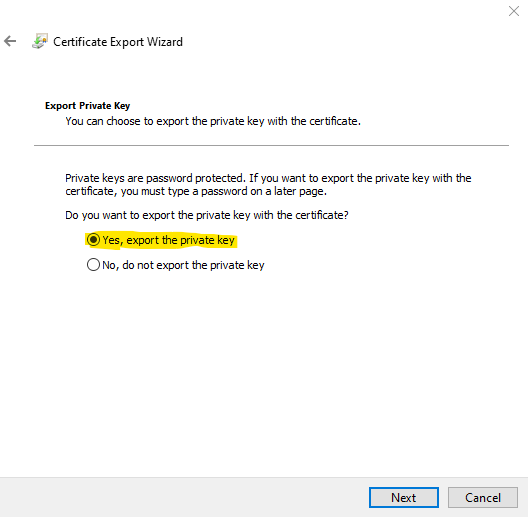
Check the box to “Export all extended properties” -> Finish the wizard (you have to give a password for the file) and save the .PFX file .
Now you have a .PFX file to work with, in order to extract the private key you will need to install openssl for windows, you can download it from here : https://slproweb.com/products/Win32OpenSSL.html
or from here : http://gnuwin32.sourceforge.net/packages/openssl.htm
once installing you are ready to run the extraction command , You can run it from the bin directory of the OPENSSL installation and then just add the full path the the files:
- The *.PFX file is in PKCS#12 format and includes both the certificate and the private key.
- Run the following command to export the private key:
openssl pkcs12 -in certname.pfx -nocerts -out key.pem -nodes - Run the following command to export the certificate:
openssl pkcs12 -in certname.pfx -nokeys -out cert.pem - Run the following command to remove the passphrase from the private key:
openssl rsa -in key.pem -out server.key
now you have the private key as key.pem , the certificate only as cert.pem and the server.key as key file without password you had to insert when create the .PFX file