

How To Create Self Signed S/MIME Certificate and install on outlook
Email security become major issue as a lot of viruses, spam, fishing attempts use this method as major platform to attack individual and organization, one way is to sign & encrypt you emails so the receiving part can be 100% sure you are the sender and the email content can be trusted . S/MIME stands for Secure/Multipurpose Internet Mail Extensions . The best way is to buy certificate from trusted authority or try getting one for free valid for one year from here : https://www.actalis.it/products/certificates-for-secure-electronic-mail.aspx
https://extrassl.actalis.it/portal/uapub/freemail?lang=en
However in this tutorial I will Show how to create self-signed certificate with self Authority .Lets begin.
First you will need to install OpenSSL on windows, and you can download it from here : https://slproweb.com/products/Win32OpenSSL.html or from here : http://gnuwin32.sourceforge.net/packages/openssl.htm
all the command you should run from command prompt under the installation directory in BIN folder. Lets say you have install it to :
C:\OpenSSL-Win64\
So run the command from :
C:\OpenSSL-Win64\bin
First lets create Private key for our Authority :
openssl genrsa -aes256 -out ca.key 4096
enter password for the key. Next Lets create self-sign certificate for our private authority valid for 3650 (10 years) :
openssl req -new -x509 -days 3650 -key ca.key -out ca.crt
Fill al the information in the wizard in order to create the certificate using the password you have selected before for the private key .
Next lets create an RSA Private Key for the Personal E-Mail Certificate, again you will have to create password for the private key :
openssl genrsa -aes256 -out smime_test_user.key 4096
We should create a file called smime.cnf in C:\OpenSSL-Win64\bin , Create text file->change its name to smime.cnf and enter this content as template for the certificate :
[req]
distinguished_name = req_distinguished_name

[req_distinguished_name]
countryName = Country Name (2 letter code)
countryName_default = AU
countryName_min = 2
countryName_max = 2
stateOrProvinceName = State or Province Name (full name)
stateOrProvinceName_default = Some-State
localityName = Locality Name (eg, city)
0.organizationName = Organization Name (eg, company)
0.organizationName_default = Internet Widgits Pty Ltd
organizationalUnitName = Organizational Unit Name (eg, section)
commonName = Common Name (e.g. server FQDN or YOUR name)
commonName_max = 64
emailAddress = Email Address
emailAddress_max = 40

[smime]
basicConstraints = CA:FALSE
keyUsage = nonRepudiation, digitalSignature, keyEncipherment
subjectKeyIdentifier = hash
authorityKeyIdentifier = keyid:always,issuer
subjectAltName = email:copy
extendedKeyUsage = emailProtection
Now we are ready to create CSR; Certificate Signing Request :
openssl req -new -key smime_test_user.key -out smime_test_user.csr
We now ready to create Certificate signed with our Private authority :
openssl x509 -req -days 3650 -in smime_test_user.csr -CA ca.crt -CAkey ca.key -set_serial 1 -out smime_test_user.crt -addtrust emailProtection -addreject clientAuth -addreject serverAuth -trustout -extfile smime.cnf -extensions smime
Now you have created self signed certificate with the Private authority, Although outlook and outher email client use p12 certificate style, Lets create this kind of certificate :
openssl pkcs12 -export -in smime_test_user.crt -inkey smime_test_user.key -out smime_test_user.p12
Enter the password you have created for the private key before . Now you have all the certificates you will need. in order to trust those certificates you will need to install them on the computer.
First install the ca.crt under Trusted Root Certificate authority as this will give the certificate validation, to do so :
run mmc-> file ->add/remove snap-ins-> select certificate -> computer account -> Local computer -> finish
Now Expand certificate and with the left mouse key import ca.crt to Trusted Root Certificate authority -> import smime_test_user.p12 under personal -> make sure the certificate is valid without errors
You shoud do it for both side computer, sender & receiver , is you have created self-signed on the receiver side this certificates should be install on all side (cert exchange) .
Installing the certificate on outlook as describe very nicely at https://www.ssl.com/how-to/installing-an-s-mime-certificate-and-sending-secure-email-with-outlook-on-windows-10 :
- Download your certificate.
Download a PKCS#12 file with your certificate from your SSL.com account by clicking the link supplied in your Certificate Activation Link email and following the on-screen instructions in your web browser. You will be prompted to create a password before downloading the file. (Keep this password secure – you will need it later.) Make sure to keep track of where you saved your PKCS#12 file, and do not lose it. If you lose your private key, you will be unable to read messages encrypted with your public key.
Note: when downloading your certificate it is possible to choose between the RSA and ECDSA algorithms via the Algorithm drop-down menu. However, ECDSA keys cannot be used for email encryption, so it’s best to leave this set to RSA.
- Open Outlook Options.
In Outlook, select File from the main menu, then click Options.
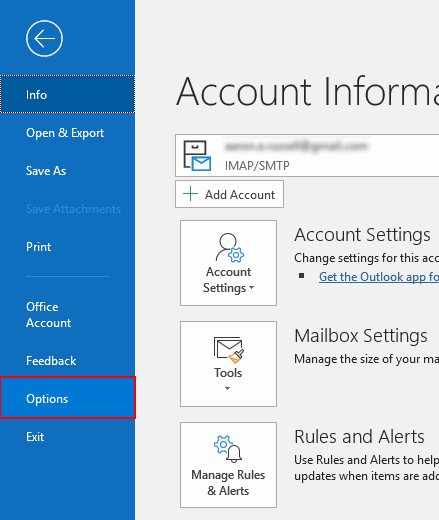
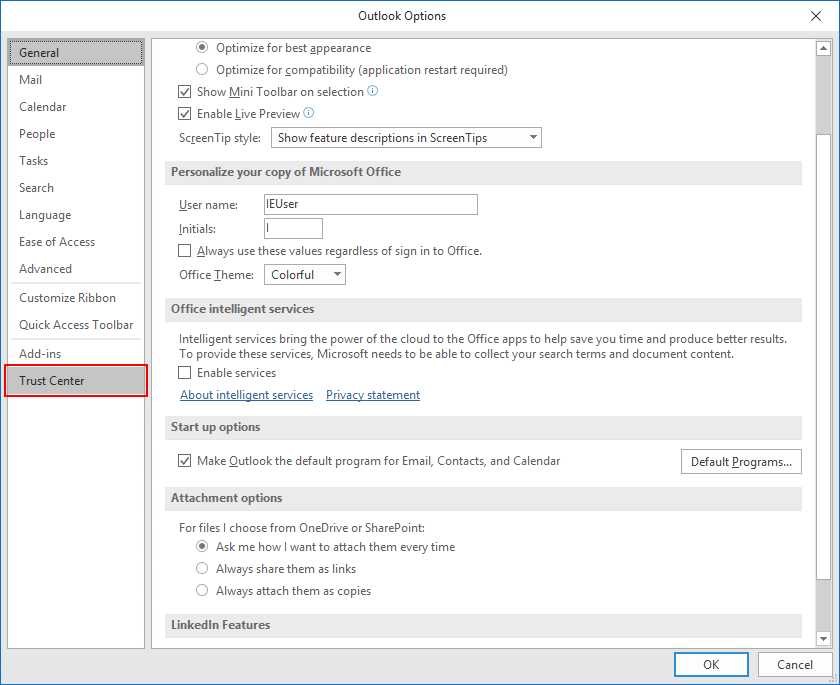
- Open Trust Center.
Select Trust Center at the bottom of the menu on the left side of the Outlook Options window.
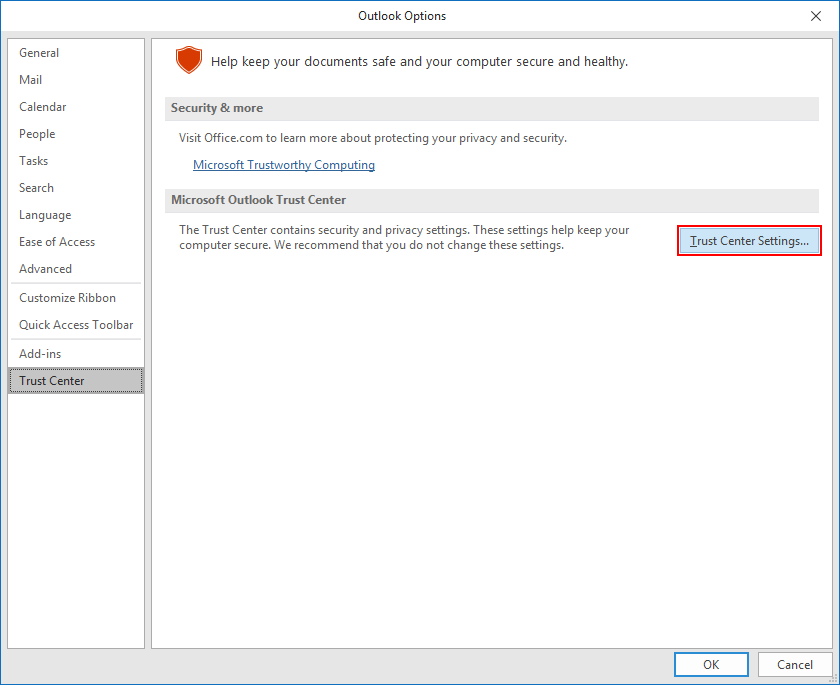
- Open Trust Center Settings.
Click the Trust Center Settings button.
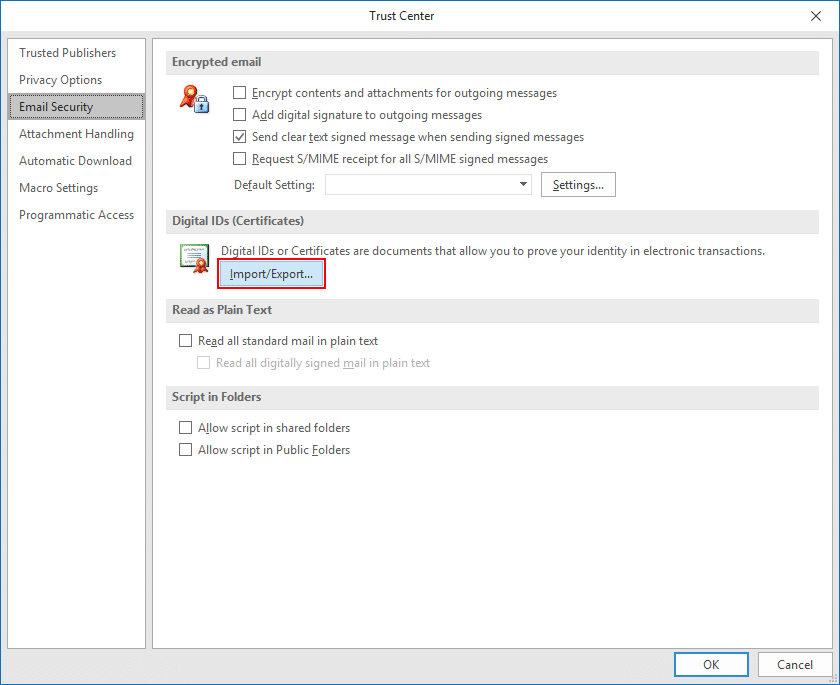
- Select Email Security.
Select Email Security from the left-hand menu of the Trust Center window.
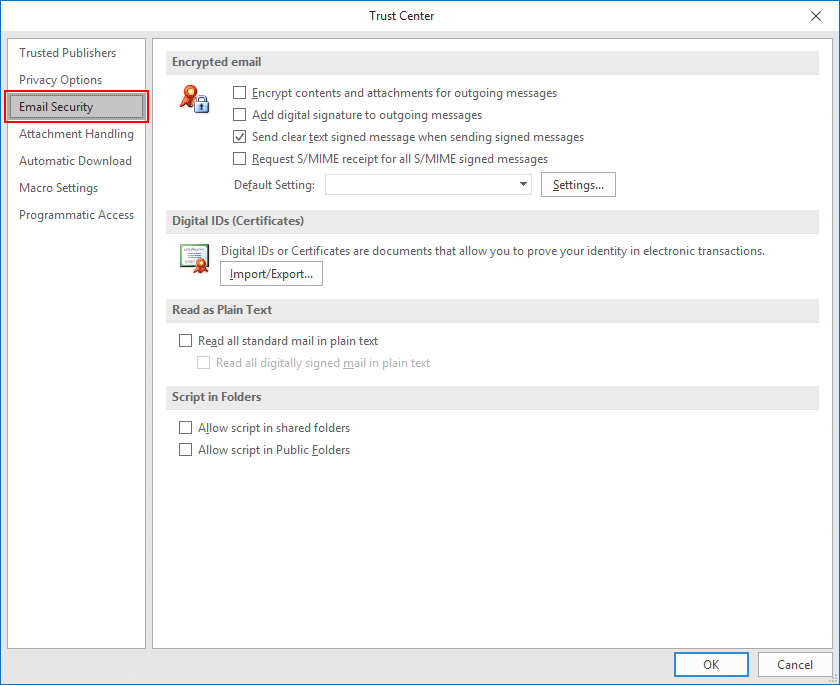
- Click Import/Export.
Click the Import/Export button, under Digital IDs (Certificates).
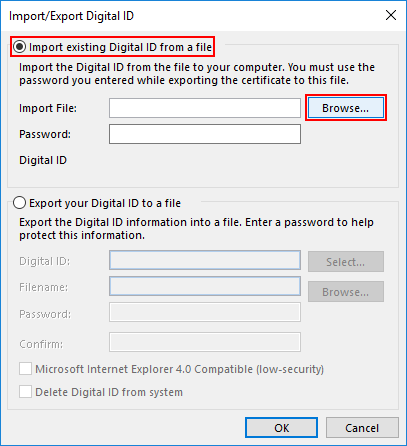
- Browse for file.
Make sure Import existing Digital ID from a file is checked, then click Browse…
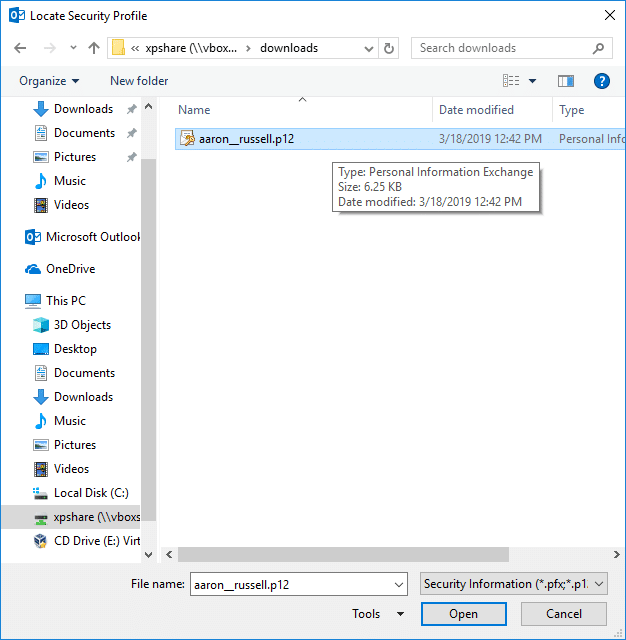
- Open file.
Navigate to the PKCS#12 file, then click Open. The filename extension should be
.p12.
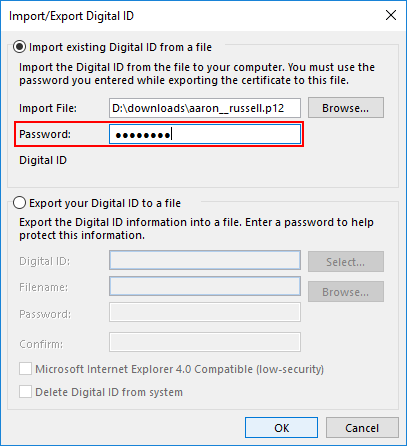
- Enter PKCS#12 password.
Enter the password you used when downloading the PKCS#12 file, then click OK.
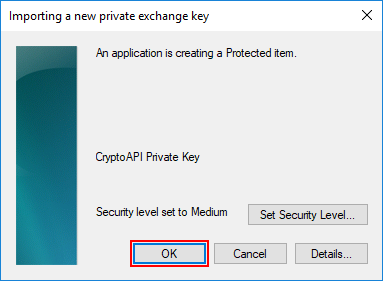
- Click OK.
Click OK on the security dialog box that pops up.
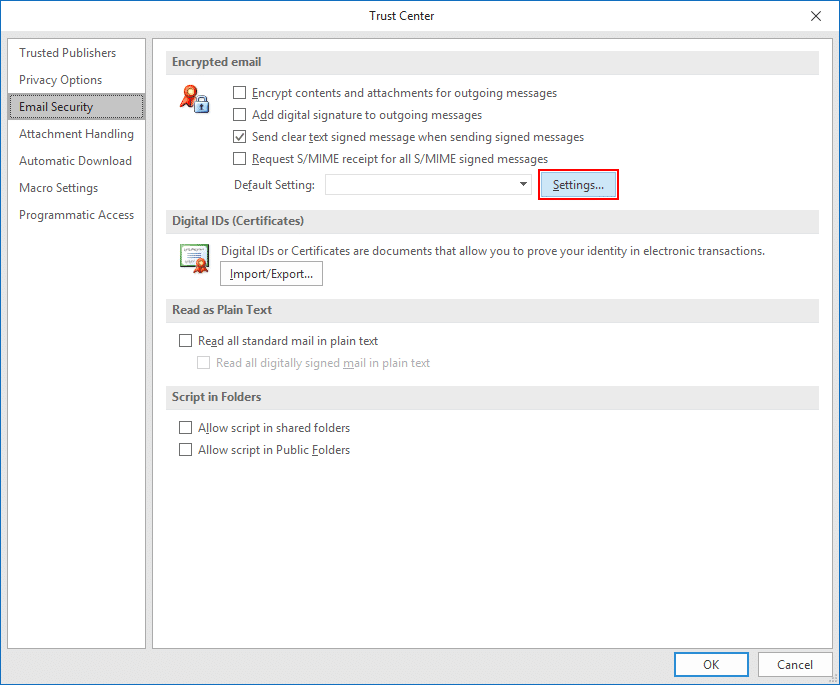
- Open encrypted email settings.
Click the Settings button, under Encrypted email.
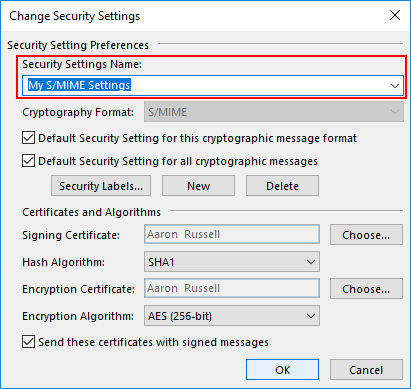
- Name security settings.
Enter a name for your security settings.
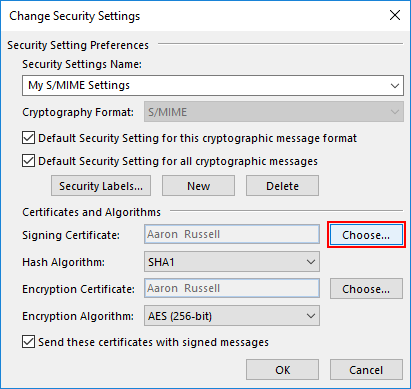
- Choose signing certificate.
Click Choose, next to Signing Certificate.
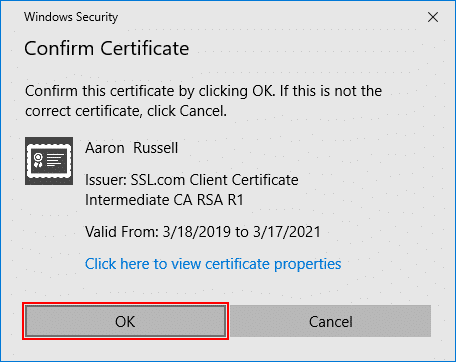
- Confirm or select certificate.
If you have only installed one certificate (as shown here), you can click OK on the Confirm Certificate dialog box that pops up. Otherwise, you will have to choose one from a list of installed certificates.
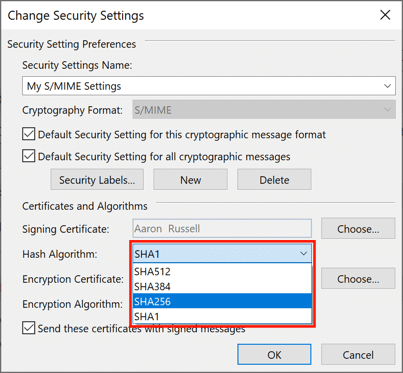
- Set hash algorithm.
Set the Hash Algorithm to SHA256.
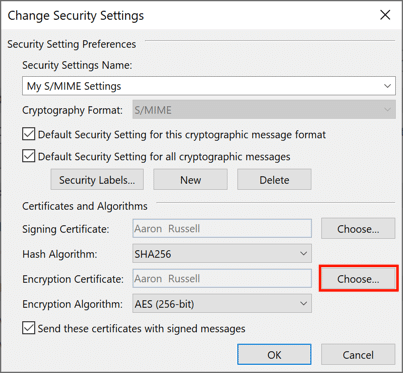
- Choose encryption certificate.
Click Choose, next to Encryption Certificate, and click OK on the Confirm Certificate dialog box. Again, if you have more than one certificate, select the same one you chose for Signing Certificate.
- Close window.
Click OK to close the Change Security Settings window.
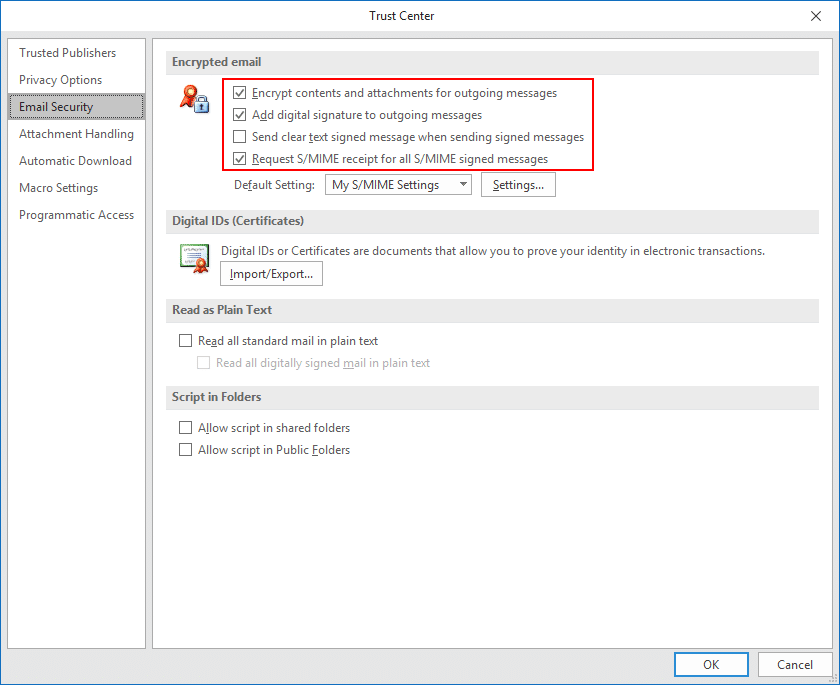
- Set S/MIME defaults.
Set your desired default options for S/MIME email via the four checkboxes under Encrypted email, then click OK to close the Trust Center Window.
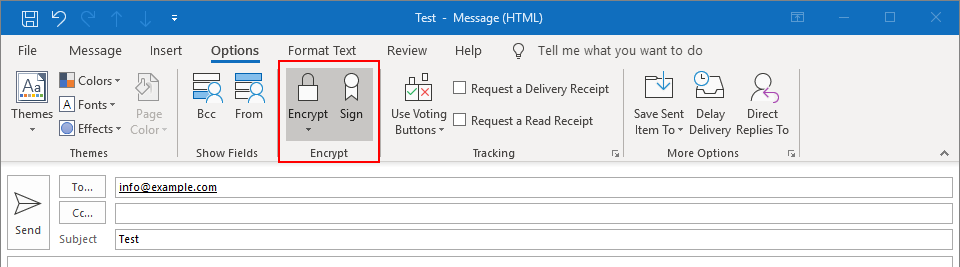
- Set S/MIME options in a new message.
Now that your S/MIME certificate is installed and configured, you can start sending signed and encrypted messages. Begin by creating a new email message in Outlook. Under Options, you can toggle the encryption and/or digital signature settings for the message.
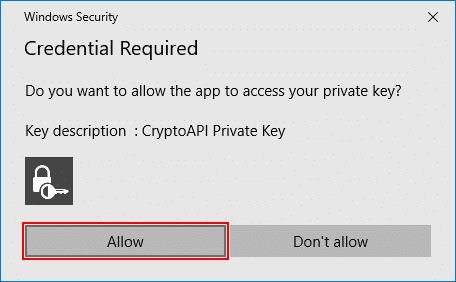
- Allow Outlook to use your private key.
After sending, click Allow in the Windows Security dialog box that appears, allowing Outlook to use your private key.
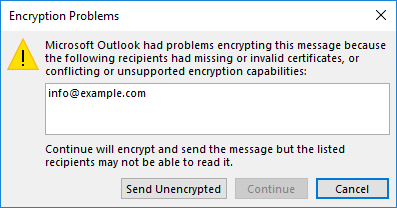
- Potential problem with encryption.
Note that if you attempt to send encrypted email and do not have your recipient’s public key, you will get an error message giving the option to send the message unencrypted. You can solve this issue by having them send you a signed email message, then adding them as a contact in Outlook.
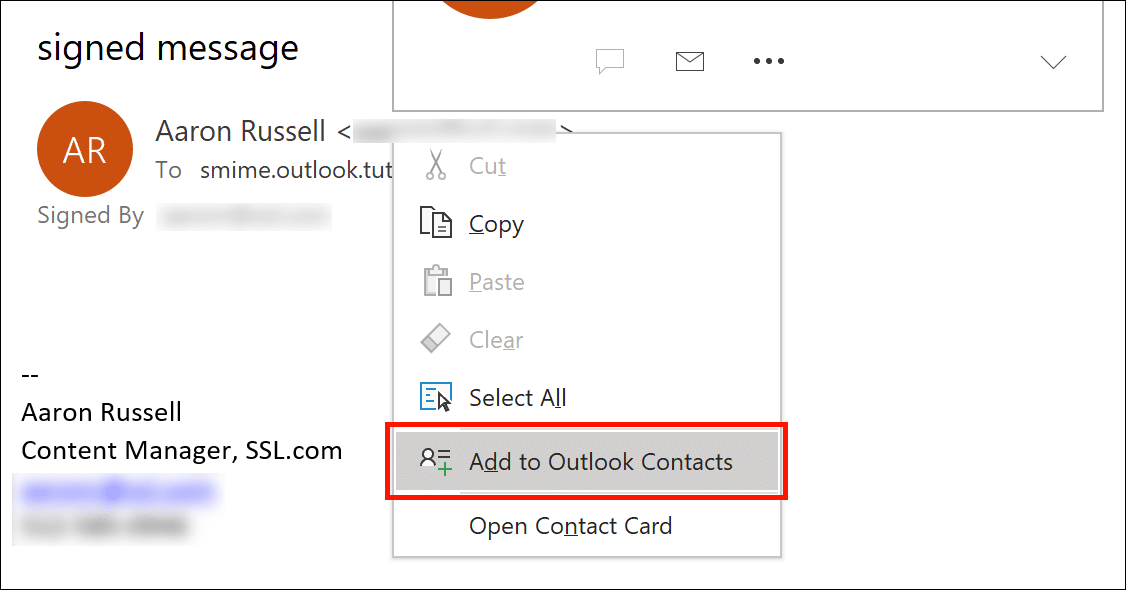
- Confirm signature.
When your contact sends you a signed email, you should see a small ribbon icon in the upper right corner of the message. You can confirm the certificate’s details by clicking the icon.

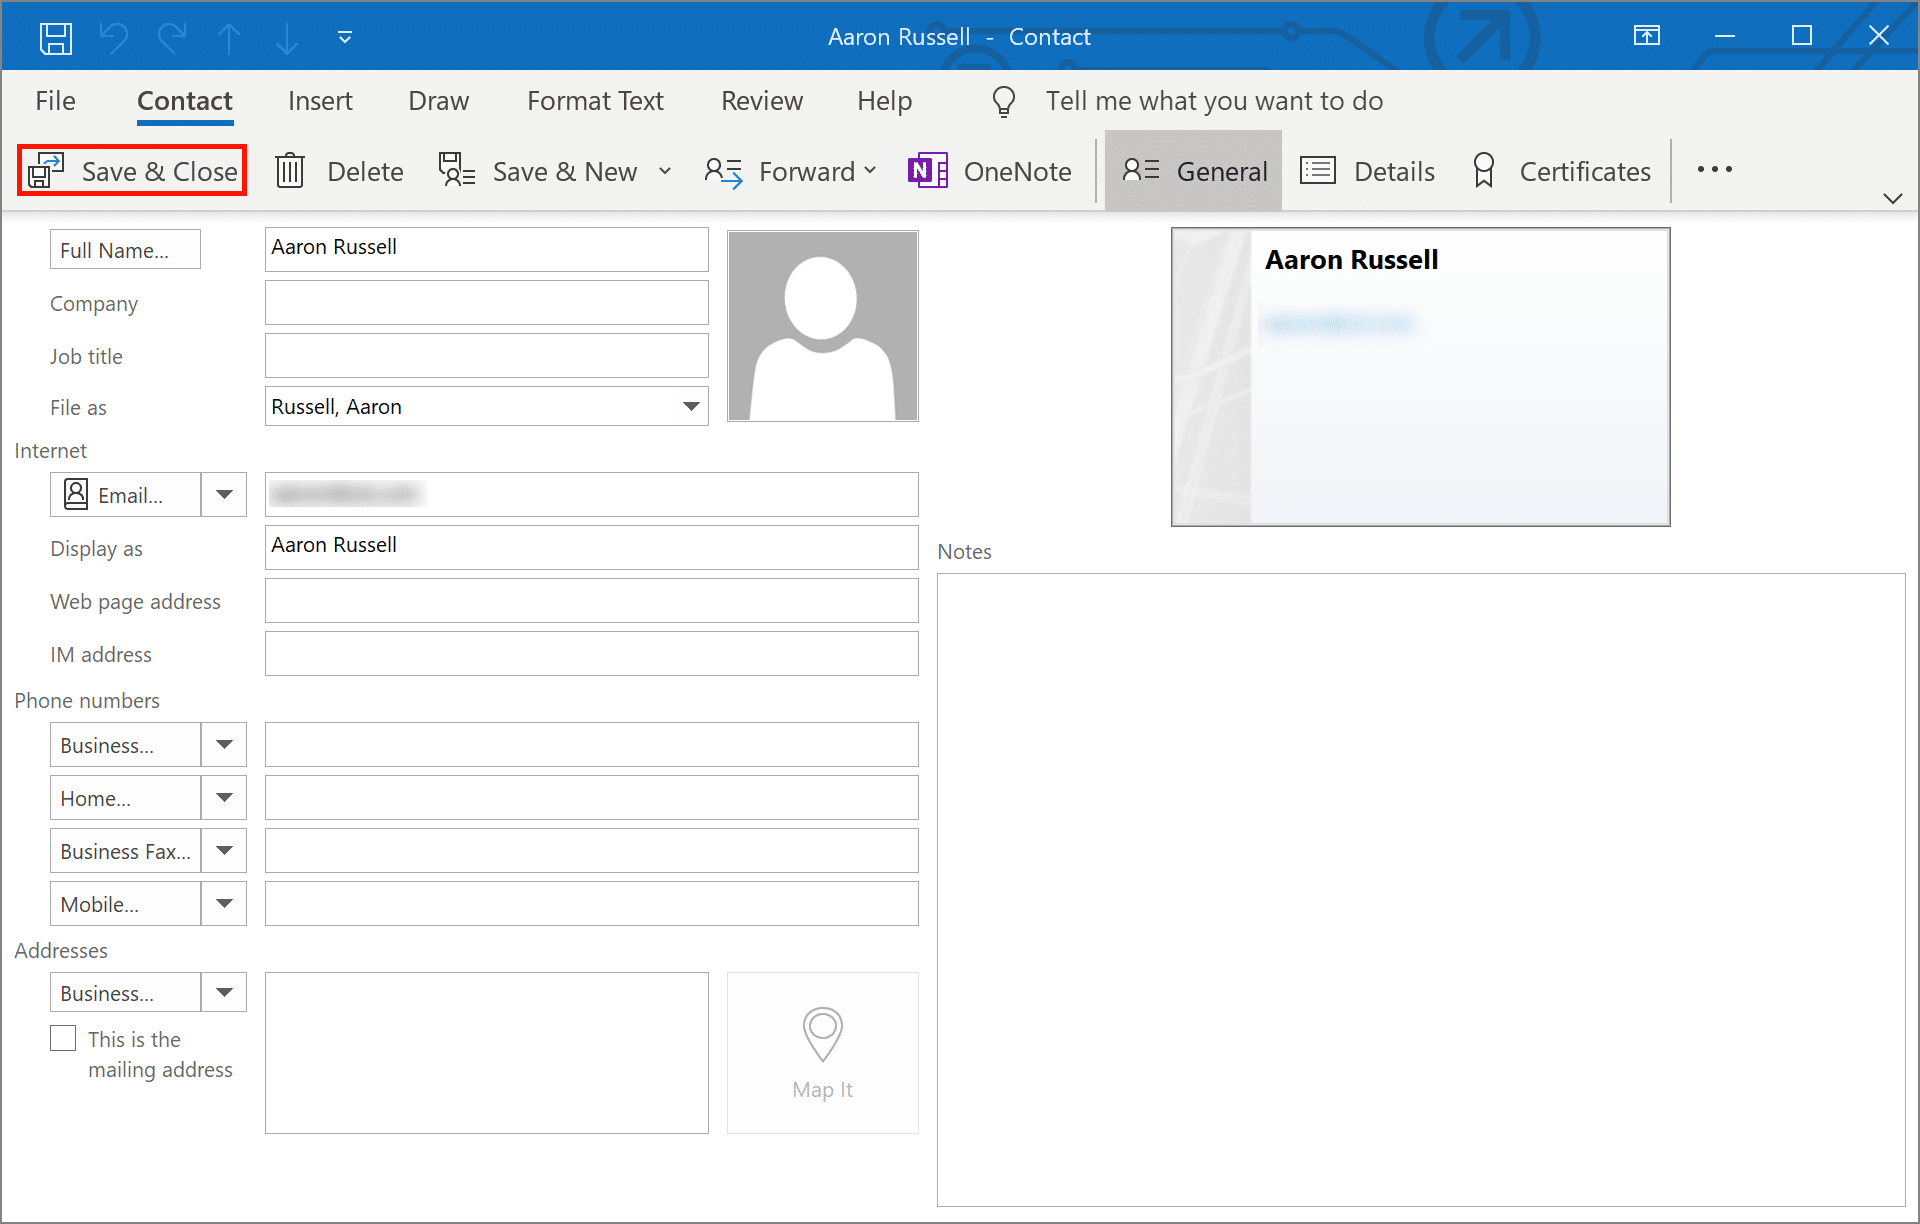
- Add contact (step 1).
Right-click the sender’s name and select Add to Outlook Contacts.
- Add contact (step 2).
Click Save and Close to save your contact. You will now be able to send encrypted email to this recipient.
For more detailed information about S/MIME email, please see our article, Sending Secure Email with S/MIME. You can also check out our blog article, Business Email Compromise and S/MIME Certificates, which discusses the pervasive problem of email-based cyber attacks experienced by business owners and how our services offer strong protection against such threats.
When trying to send encryped email you might get error : valid certificate :
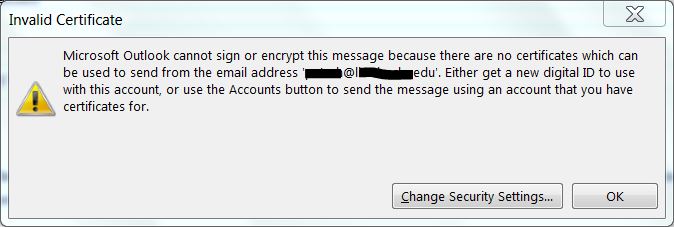
To Fix this you can import the certificate smime_test_user.p12 :
1. Open control panel, navigate to Network and Internet-> Internet Options.
2. In prompt Internet Properties Window, select “Content” tab->Click on “Certificates” button.
3. In prompt Certificate window, select “Personal” tab->Select the certificate you applied for and issued to your current account.
You can import again from there again the certificate
Hi from France !
I use Windows 10 Pro on a desktop computer.
I downloaded OpenSSL v1.1.1g Light (Platform : VC-WIN64A) from the first recommended site : https://slproweb.com/products/Win32OpenSSL.html
Problem : I can’t enter any password for the ca.key in the Win64 OpenSSL Command Prompt. The cursor is just blinking and that’s all… 🙁
What should I do please ?
Thanks in advance. 🙂
FDK
Blinking cursor is natural when typing passwords ……just type and continue
Clarification : The cursor is blinking but remains blocked. It does not react to any typing from my keyboard (Except the “Enter” key); nor mouse clicks. 🙁
Did you read my May 24, 2020 reply ?
By the way did you read the free way to get outlook s/mime certificate :
https://www.actalis.it/products/certificates-for-secure-electronic-mail.aspx
this is a brilliant guide I’ve followed all steps and successfully imported
however when I’m come to encrypt email outlook comes up saying “Microsoft Outlook had problems encrypting this message because the following receipts had missing or invalid certificates or conflicting or unsupported encryption capabilities, which I understand – however continue is greyed out.
Thanks
you need to add the recipient to local address book
Hello, nice process. Easy to understand. In trying to create a certificate signed with private authority, I received an error message indicating the following: error on line 1 of config file ‘smime.cnf’. I copied the text exactly as shown, pasted into a text file and changed the extension to .cnf.
Your help is greatly appreciated.
Thanks.
notice that the example file is just as it say !
countryName = Country Name (2 letter code) -> you need to enter the counrty code like =US or IT or RU …….
this was really great help
i have a question
how can i create certificates for more than one email or account
For each address you should have one mime certificate, then you can choose it when sending sign email from that address
I am getting an error “Unable to load config info from /usr/local/ssl/openssl.cnf”