How To Install Apache on CentOS 8
Installing Apache
The first this is to install CentOS , Logon as root , updtae apache to the latest:
dnf update
Now we can start the installation which is straight forward :
dnf install httpd
Make it start and run with boot automatic :systemctl start httpdsystemctl enable httpd
Check the status of the server :
systemctl status httpdNow allow acces through the Linux firewall
sudo firewall-cmd --permanent --zone=public --add-service=http
sudo firewall-cmd --permanent --zone=public --add-service=https
sudo firewall-cmd --reload
Then check to see if the site online and responding :
hostname -I | awk '{print $1}'
Or
curl [your_system’s_IP_address]:80
You can also just open a browser and surf to your IP and get:
Apache Files and Directories
Apache is controlled by applying directives in configuration files:
- /etc/httpd/conf/httpd.conf – Main Apache config file
- /etc/httpd/ – Location for all config files
- /etc/httpd/conf.d/ – All config files in this directory are included in the main confog file
- /etc/httpd/conf.modules.d/ – Location for Apache module config files
- /var/log/httpd/ – Location of Apache log files
- /var/log/httpd/access_log – Shows a log of systems that accessed the server
- /var/log/httpd/error_log – Shows a list of any errors Apache encounters
To install Apache modules use The default installation directory for Apache modules is the /etc/httpd/modules/ directory. Configuration directives for the default modules are located in /etc/httpd/conf/httpd.conf, while configuration options for optional modules installed with yum are generally placed in .conf files in /etc/httpd/conf.d/.
-
List available Apache modules:
sudo yum search mod_ -
Install any desired modules:
sudo yum install [module-name]Modules should be enabled and ready to use following installation.
The following commands install Apache support for server-side scripting in Perl, Python, and PHP. Support for these languages is optional based on your server environment.
Install the EPEL repository:
sudo yum install epel-release
To install:
-
Perl support:
sudo yum install mod_perl -
Python support:
sudo yum install mod_wsgi -
PHP support:
sudo yum install php php-pear
Controlling Apache Permalink
You can control the server in the following ways.
-
Stopping the server when it’s running:
sudo systemctl stop httpd -
Start the server when it’s stopped:
sudo systemctl start httpd -
Stop and start the server when it’s running:
sudo systemctl restart httpd -
Reload the configurations while the server is running without stopping it:
sudo systemctl reload httpd -
You can disable Apache so that it stops and doesn’t restart again when rebooting the system:
sudo systemctl disable httpd -
To re-enable Apache if it’s been disabled. This will also enable it to restart when the system reboots:
sudo systemctl enable httpd
Creating a virtual host file on CentOS 8
As discussed earlier, in order to publish your website, we are going to create a virtual host file.
Similarly to NGINX, we are going to create two directories :
- sites-available : that contains the entire list of websites available on our web server. Those websites are not necessarily enabled by default which is the purpose of the second folder.
- sites-enabled : that containers the list of websites that are accessible to users. A symbolic link will be created in this directory in order to activate and desactivate websites on demand.
First, create those two directories on your host.
$ sudo mkdir -p /etc/httpd/sites-enabled /etc/httpd/sites-availableNow that your folders are created, edit your default Apache configuration and find the following line.
$ sudo vi /etc/httpd/conf/httpd.conf

# Load config files in the "/etc/httpd/conf.d" directory if any
IncludeOptional conf.d/*.conf
Replace this line with the following line.
IncludeOptional sites-enabled/*.confNow that your Apache Web Server configuration is updated, create a virtual host file for your “website.com” website.
$ sudo vi /etc/httpd/sites-available/website.com.confPaste the following configuration in it.
<VirtualHost *:80>
    ServerName website.com
    ServerAlias www.website.com
    DocumentRoot /var/www/website.com/html
    ErrorLog /var/www/website.com/log/error.log
    CustomLog /var/www/website.com/log/requests.log combined
</VirtualHost>
Save your file, and make sure that your configuration is okay by running the following command.
$ sudo apachectl configtest
Syntax OK
Now, your website won’t be directly available just by restarting your Apache Web server, it needs to be located in the sites-enabled folder.
To link it to the sites-enabled directory, create a symbolic link using this command.
$ sudo ln -s /etc/httpd/sites-available/website.com.conf /etc/httpd/sites-enabled/website.com.confUpdate your SELinux firewall rules
By default, SELinux is configured to work with default Apache configuration folders.
As you created custom ones, you need to enable them in SELinux.
In order for the Apache Web Server to start correctly, you need to modify your Apache policy to include custom log directories.
To enable custom directories, run the following command
$ sudo setsebool -P httpd_unified 1Restart your Apache server
Now that everything is correctly set up, it is time for you to restart your server to see your changes.
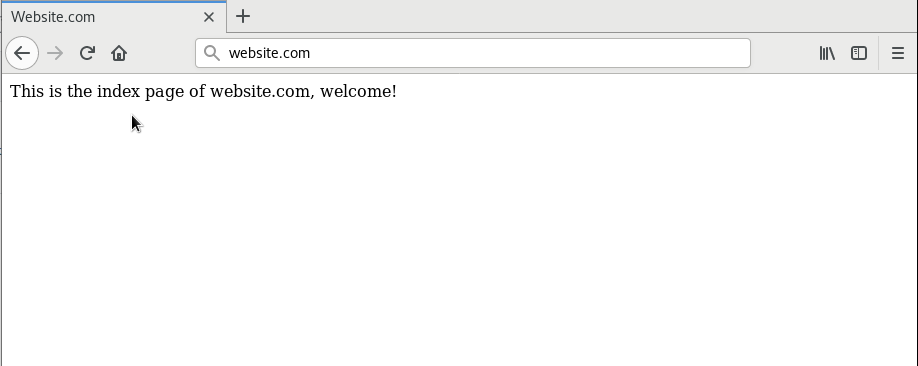
$ sudo systemctl restart httpd


