

How To Create Open relay Receive Connector on Microsoft Exchange Server
Application or old Scanners sometimes do not support SMTP authentication or any other means of secure way to authenticate while using SMTP mail service . In order to overcome this problem you need to create on your on-perm Exchange server open relay connector to allow those devices or software to send emails .
First logon to the ECP (Exchange Control Panel) :
https://your_exchange_server_URL/ecp
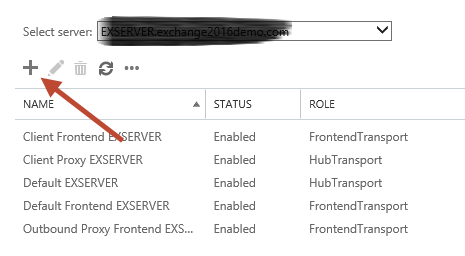
Then go to -> mail flow -> receive connectors -> select the exchange server, click the “+” to add new receive connector :
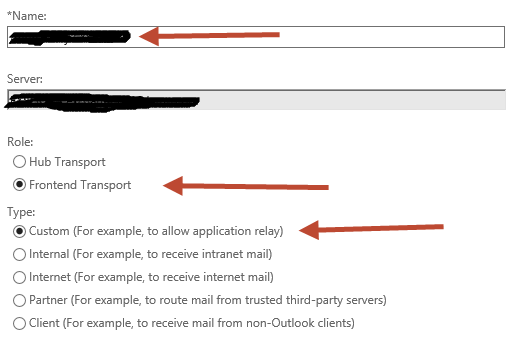
Then name it as you want -> click next
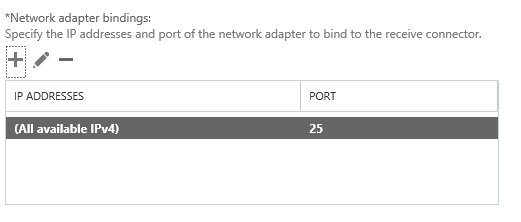
Make sure the server network IP bind’s to the right IP and listening on port 25
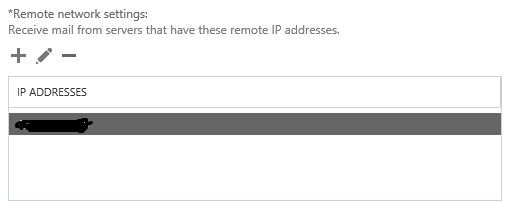
On the remote network settings make sure your device is inserted with the right IP address
NOW the most impotent step, you have to allow the server accepting recipient out side of the accepted domain on the server
In the Exchange Management Shell run the following two commands.
[PS] C:\>Set-ReceiveConnector "EXSERVER\Anon Relay EXSERVER" -PermissionGroups AnonymousUsers


[PS] C:\>Get-ReceiveConnector "EXSERVER\Anon Relay EXSERVER" | Add-ADPermission -User 'NT AUTHORITY\Anonymous Logon' -ExtendedRights MS-Exch-SMTP-Accept-Any-Recipient